Last year the gang at Car Supplies Warehouse (formerly Car Guy Supplies) made a great video on how to remove lovebugs, flies, and countless other insects from your car using Dr. Beasley’s Insect Remover and Bug Barrier. Check it out below:
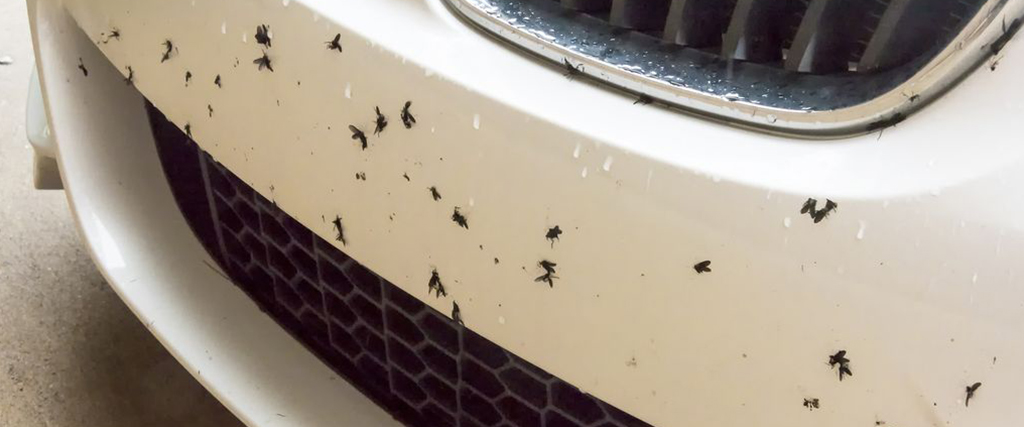
It’s that time of year when the front of your car can look a grisly insect graveyard after a long drive. As well as appearing gruesome, the acids from bugs splattered at speed can also harm your paintwork. The key is to remove them as quickly as possible, and preferably with little effort
Step 1: Remove the Top Layer of Dirt & Grime Simply attempting to scrape off bugs or tar spots can damage paint. Wash the surface of your car with a good quality car shampoo using the two bucket method to keep your soapy water clean and free of the surface dirt and grime you have removed. Specialist lambswool washmitt or microfibre mitss are an ideal tools to use for removal of bugs and tar deposits.
Step 2: Treat the Affected Area If the bugs don’t come off after a thorough wash, it is usually a better idea to use a specialised bug remover for vehicles such as Turtle Wax Bug & Tar Remover that will help you wipe away bugs without the risk of causing damage to your paints clear coat. Spray the product liberally on any problem areas such as the hood or grill and leave the product to activate for one minute. The aim is to loosen and dissolve the contaminants on the surface of the car to avoid hard scrubbing and therefore paintwork damage.
Step 3: Restore Your Cars Shine Rinse the product off the car and dry the area with a clean microfibre cloth. Repeat the process if there are still some remains or small stains, making sure to leave the product to soak for the recommended time. Waxing the surface of your car after bug removal, using a Carnauba Wax or Sealant, will restore the shine in the paintwork and prevent stubborn bug stains in the future.